First things first, this is absolutely not a technique that would be approved by a nail tech. But it works well for me, and my nails seem pretty okay. I take no responsibility for if you try this and it goes wrong.
Now that the disclaimer is out of the way, my personal style has been drifting a lot more towards gyaru than egl these days and it’s been a bit of a learning curve, as well as interesting to try to find my way back to this blog. Gyaru has been fitting my much more active lifestyle better in general, however there is one little problem with it. The nails! For my day job I work blue collar work, for hobbies I play the guitar and do martial arts, the iconic long nails just do not work for those moments in my life. I do still very much enjoy the look though! I like wearing nails for filming, taking photos, and going out, but I do kind of need a way for them to be secure for the duration of the activity, but then be able to be taken off. Here’s the method I have recently developed!
Putting the Nails On
1.) Gather your supplies, you’re going to need nail polish remover, brush on nail glue, a hydrating/protective base coat and possibly nail clippers and a nail file.
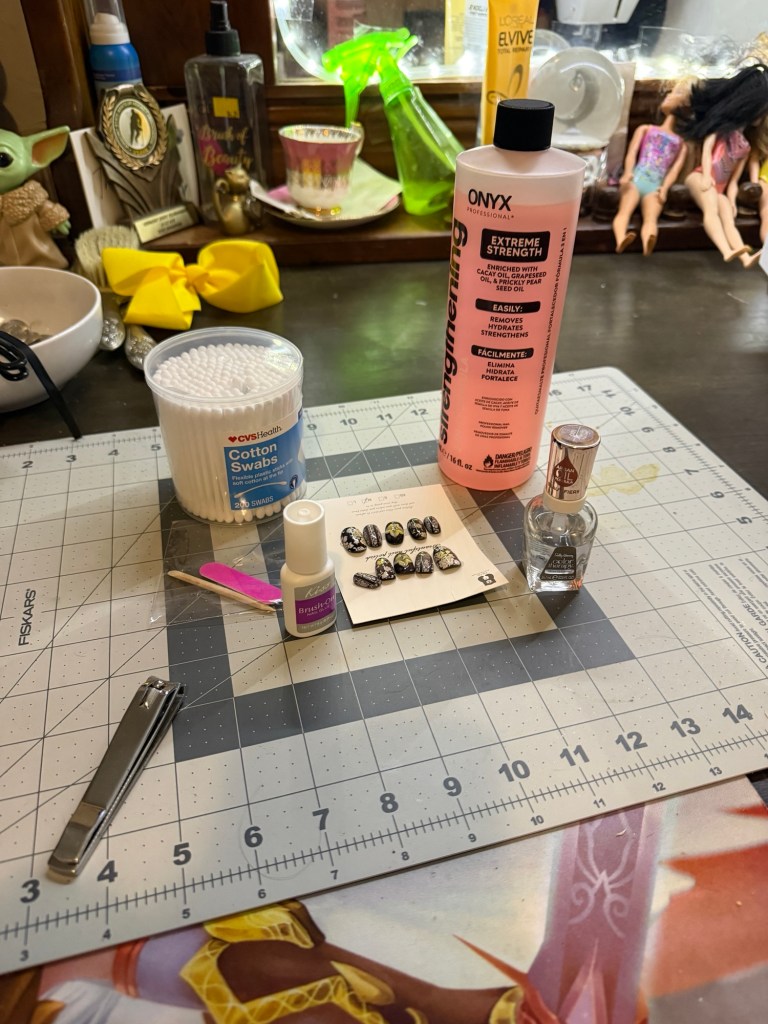
2.) Clean any nail polish or glue residue off your nails, cut and file if necessary
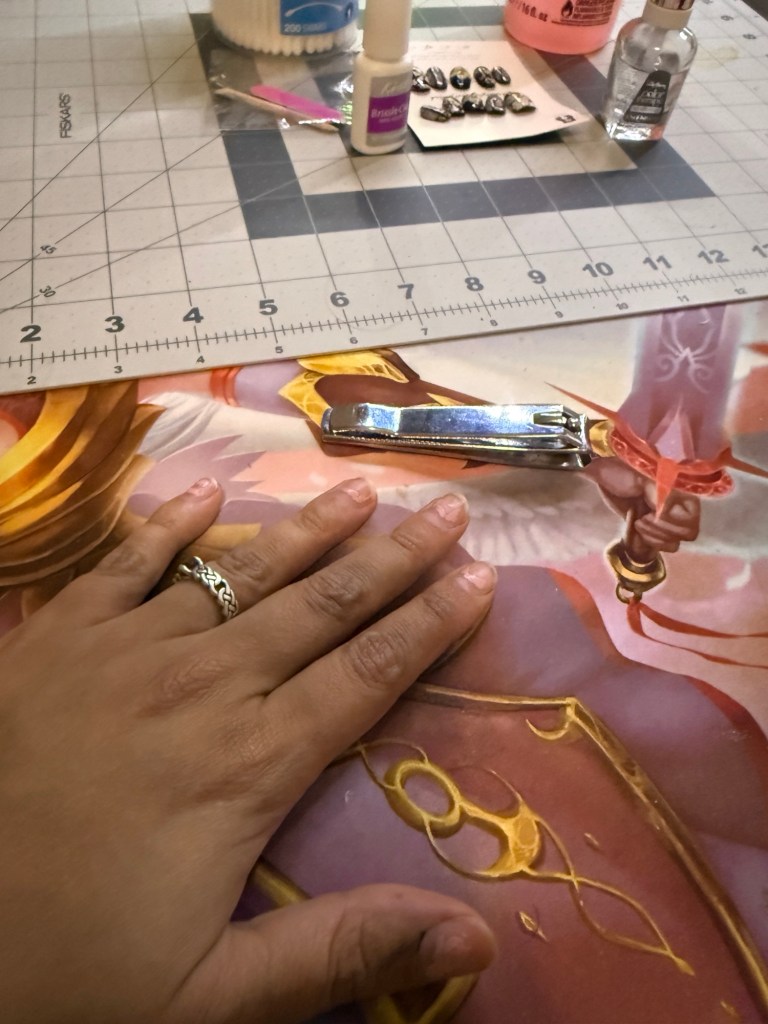
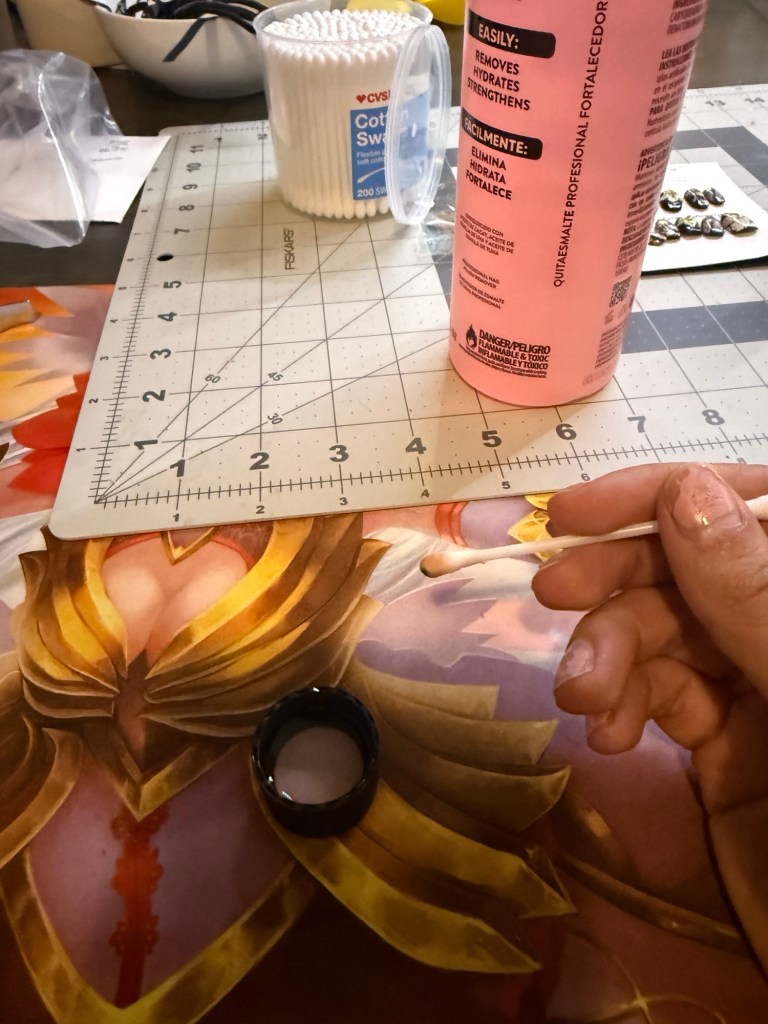
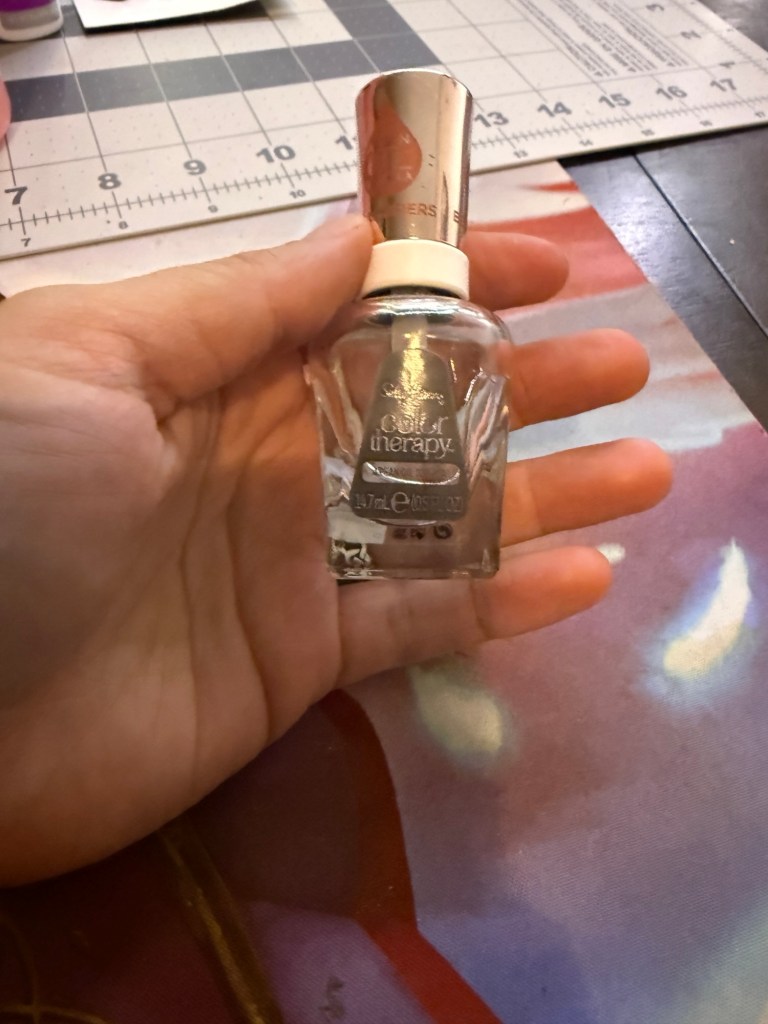
3.) Apply 2-3 layers of a hydrating/protective base coat. You want it thicker so it better protects your nails when you take them off later.
3.) After that use brush on nail glue to apply your nails, the kind I have dries surprisingly fast so I usually brush the glue then immediately press on the nails after each nail has had glue applied.
4.) Nails are applied!!
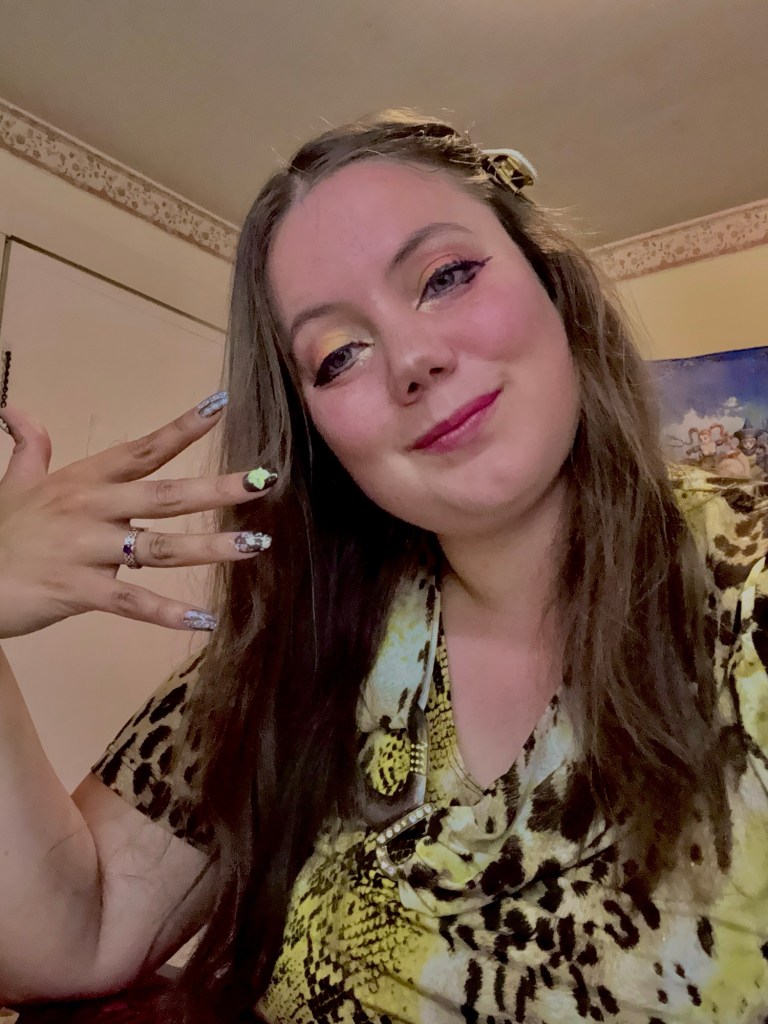
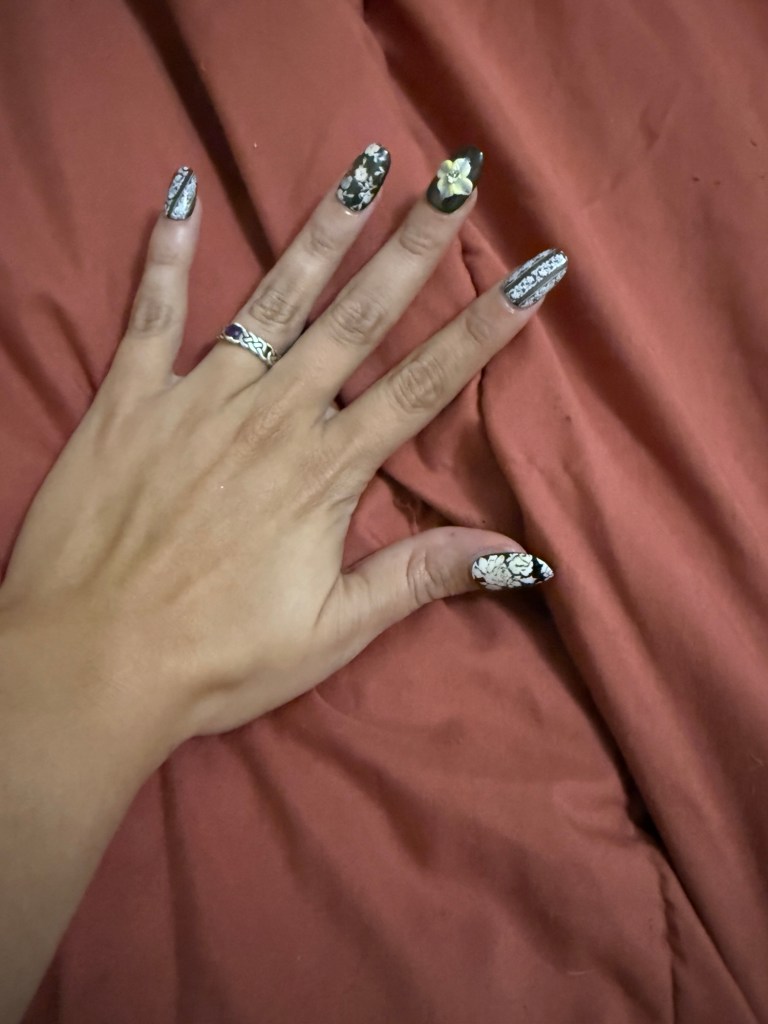
Removing the Nails
Honestly, removing the nails is very simple but can take some time, patience and good sense. These will not just “pop right off” which is sort of the point, I wanted temporary nails that could survive a night out. I did due to that forget to take pictures during this process.
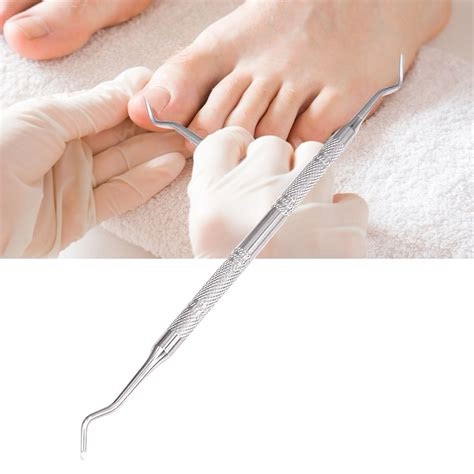
Very basically we are going to gently slide a tool under the fake nail and gently separate it from our natural nail. Do not force or tear. You’ll do that until each nail is off. I personally reccommend using an ingrown toenail tool like this one and using it curve side down to gently separate.
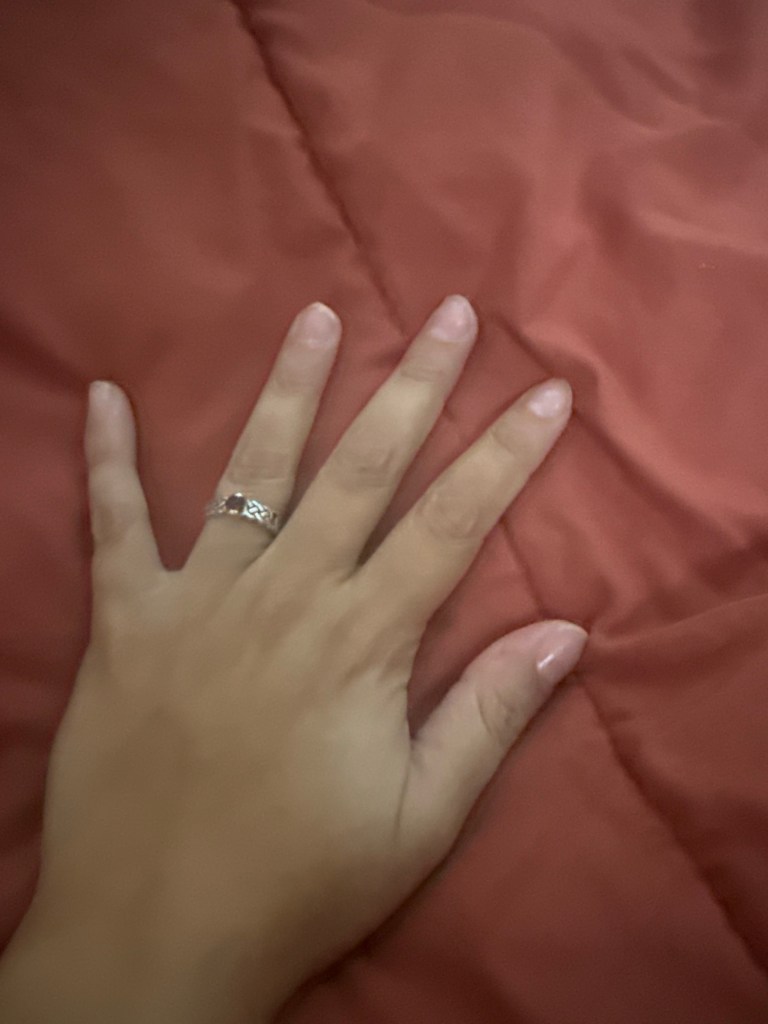
Honestly there will be some glue and polish left on your nails, (which is kind of what we want since it means we didn’t get our actual nailbeds) if it bugs you just use some nail polish remover to clean off. Sometimes I honestly just paint over it since the glue can be a good “rough up” to grip it without having to buff into my actual nail.
So there we have it! A perhaps unadvised temporary nail tutorial, do this at your own risk, but it worked well for me!


